Calibrating an Acrylic EM System is a crucial process that ensures the optimal performance of your Electronic Article Surveillance (EAS) equipment. As a leading supplier of Acrylic EM Systems, I understand the importance of accurate calibration to maintain the security and efficiency of your business. In this blog post, I will guide you through the step-by-step process of calibrating an Acrylic EM System, providing you with the knowledge and tools necessary to keep your system running smoothly.
Understanding the Basics of an Acrylic EM System
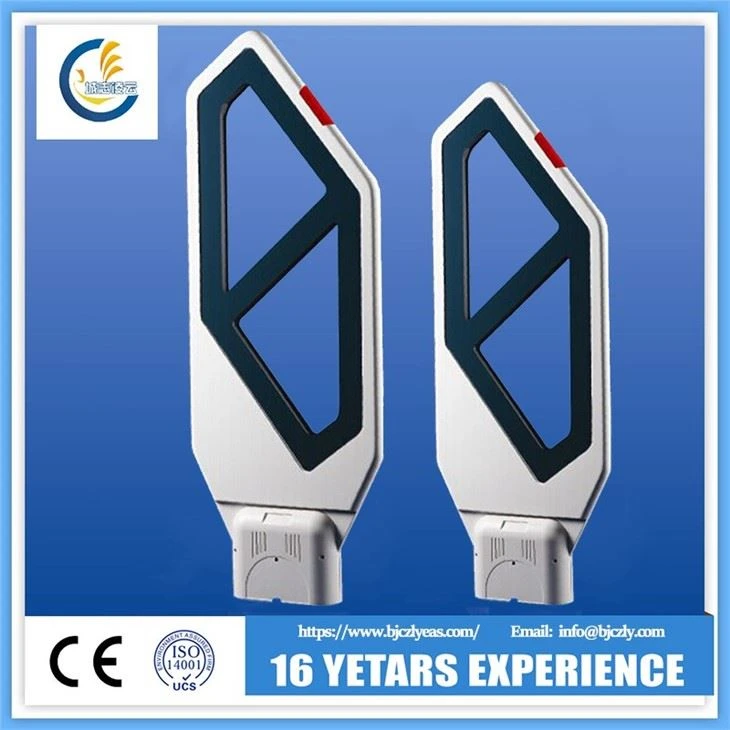
Before diving into the calibration process, it's essential to have a basic understanding of how an Acrylic EM System works. An Acrylic EM System is a type of EAS system that uses electromagnetic fields to detect the presence of security tags attached to merchandise. When a tagged item passes through the detection zone of the system, the electromagnetic field is disrupted, triggering an alarm.
The main components of an Acrylic EM System include:
- Transmitter: Generates the electromagnetic field.
- Receiver: Detects disruptions in the electromagnetic field caused by security tags.
- Alarm: Sounds when a disruption is detected.
- Control Unit: Manages the operation of the system and allows for configuration and calibration.
Why Calibration is Important
Calibration is the process of adjusting the settings of an Acrylic EM System to ensure accurate and reliable operation. Over time, factors such as environmental changes, equipment wear and tear, and interference can cause the system to become misaligned or inaccurate. Calibrating the system regularly helps to:
- Improve Detection Accuracy: Ensures that the system can detect security tags consistently and accurately, reducing false alarms and missed detections.
- Enhance System Performance: Optimizes the sensitivity and range of the system, allowing it to cover a larger area and detect tags at various distances.
- Extend Equipment Lifespan: Helps to prevent damage to the system by ensuring that it operates within its specified parameters, reducing the risk of breakdowns and costly repairs.
- Comply with Industry Standards: Many industries have specific requirements for EAS system performance. Calibrating your system ensures that it meets these standards and regulations.
Step-by-Step Guide to Calibrating an Acrylic EM System
Now that you understand the importance of calibration, let's walk through the step-by-step process of calibrating an Acrylic EM System.
Step 1: Prepare the System
Before you begin the calibration process, it's important to prepare the system and the calibration environment. Here's what you need to do:
- Turn off the System: Make sure the system is turned off and unplugged to avoid any electrical hazards.
- Clean the Equipment: Use a soft, dry cloth to clean the transmitter, receiver, and control unit to remove any dust or debris that may affect the system's performance.
- Check the Power Supply: Ensure that the system is connected to a stable power source and that the voltage is within the specified range.
- Clear the Detection Zone: Remove any objects or metal items from the detection zone to avoid interference.
Step 2: Set the System to Calibration Mode
Most Acrylic EM Systems have a calibration mode that allows you to adjust the system settings. To set the system to calibration mode, follow these steps:
- Locate the Control Unit: The control unit is usually located on the side or back of the system.
- Access the Menu: Use the control panel or keypad on the control unit to access the system menu.
- Select Calibration Mode: Navigate to the calibration mode option in the menu and select it.
Step 3: Adjust the Sensitivity
The sensitivity of the system determines how easily it can detect security tags. To adjust the sensitivity, follow these steps:
- Use a Test Tag: Place a test tag in the center of the detection zone.
- Increase or Decrease Sensitivity: Use the control panel or keypad to increase or decrease the sensitivity of the system until the alarm is triggered when the test tag is placed in the detection zone.
- Test Multiple Tags: Repeat the process with different types of test tags to ensure that the system can detect all types of security tags accurately.
Step 4: Adjust the Range
The range of the system determines how far it can detect security tags. To adjust the range, follow these steps:
- Place a Test Tag at Different Distances: Place a test tag at different distances from the system and note the distance at which the alarm is triggered.
- Adjust the Range Setting: Use the control panel or keypad to adjust the range setting of the system until the alarm is triggered at the desired distance.
- Test Multiple Tags at Different Distances: Repeat the process with different types of test tags at different distances to ensure that the system can detect all types of security tags at the desired range.
Step 5: Check for Interference
Interference from other electronic devices or metal objects can affect the performance of the Acrylic EM System. To check for interference, follow these steps:
- Turn on Other Electronic Devices: Turn on other electronic devices in the vicinity of the system, such as computers, televisions, or radios.
- Test the System: Place a test tag in the detection zone and check if the alarm is triggered. If the alarm is not triggered or if there are false alarms, there may be interference.
- Move or Remove the Interfering Devices: If there is interference, move or remove the interfering devices from the vicinity of the system.
- Repeat the Calibration Process: After removing the interfering devices, repeat the calibration process to ensure that the system is operating correctly.
Step 6: Save the Calibration Settings
Once you have completed the calibration process, it's important to save the calibration settings to ensure that the system retains the adjusted settings. To save the calibration settings, follow these steps:
- Access the Menu: Use the control panel or keypad on the control unit to access the system menu.
- Select Save Calibration: Navigate to the save calibration option in the menu and select it.
- Confirm the Save: Follow the prompts on the control panel or keypad to confirm the save.
Tips for Successful Calibration
Here are some tips to help you calibrate your Acrylic EM System successfully:
- Follow the Manufacturer's Instructions: Always refer to the manufacturer's instructions for specific calibration procedures and settings.
- Use High-Quality Test Tags: Use high-quality test tags that are compatible with your Acrylic EM System to ensure accurate calibration.
- Calibrate Regularly: Calibrate your system regularly, at least once a month or more frequently if the system is used in a high-traffic area.
- Keep a Calibration Log: Keep a log of all calibration activities, including the date, time, and results of each calibration, to track the performance of the system over time.
- Seek Professional Help if Needed: If you encounter any problems or difficulties during the calibration process, seek professional help from a qualified technician or the manufacturer's support team.
Conclusion
Calibrating an Acrylic EM System is a critical process that ensures the optimal performance of your EAS equipment. By following the step-by-step guide and tips outlined in this blog post, you can calibrate your system accurately and efficiently, reducing false alarms and missed detections, and improving the security and efficiency of your business.

If you are interested in purchasing an Acrylic EM System or need further assistance with calibration or maintenance, please visit our website to learn more about our EM anti-theft system, Library EM System, and library anti theft gate. Our team of experts is always available to answer your questions and provide you with the support you need. Contact us today to discuss your specific requirements and start protecting your business with an Acrylic EM System.
References
- Manufacturer's Manual for Acrylic EM System
- Industry Standards for Electronic Article Surveillance Systems