Hey there! As a supplier of RF Deactivators, I often get asked about how to clean these nifty devices. Keeping your RF Deactivator clean isn't just about making it look good; it's crucial for its performance and longevity. So, let's dive right into it and learn how to give your RF Deactivator the TLC it deserves.
Why Cleaning Your RF Deactivator Matters
First off, you might be wondering why cleaning an RF Deactivator is such a big deal. Well, these machines are used to deactivate anti - theft labels, and they operate in various environments. Dust, dirt, and debris can accumulate over time, which can interfere with the device's ability to generate the right electromagnetic fields needed to deactivate the labels effectively. A dirty RF Deactivator may not work as well, leading to missed deactivations and potential theft issues in your store.
Tools You'll Need
Before you start cleaning, gather the right tools. You don't need anything too fancy. Here's what you'll require:

- Soft microfiber cloths: These are great for gently wiping down the surface of the deactivator without scratching it.
- Isopropyl alcohol: A 70% solution works well. It helps to disinfect and remove stubborn grime.
- Compressed air canister: This is useful for blowing out dust from hard - to - reach areas like vents and crevices.
- Cotton swabs: They come in handy for cleaning small, detailed parts.
Step - by - Step Cleaning Process
1. Power Off and Unplug
This is a no - brainer but extremely important. Before you start cleaning, make sure your RF Deactivator is turned off and unplugged from the power source. This will prevent any electrical hazards and ensure your safety.
2. Exterior Cleaning
- Wipe the Surface: Take a soft microfiber cloth and gently wipe the exterior of the deactivator. Start from the top and work your way down. This will remove any loose dust and fingerprints.
- Clean the Display (if applicable): If your RF Deactivator has a display screen, be extra careful. Use a microfiber cloth slightly dampened with a small amount of water to clean the screen. Avoid using too much liquid as it could seep into the device and cause damage.
- Remove Stubborn Stains: For stubborn stains on the exterior, you can dampen the microfiber cloth with isopropyl alcohol. Gently rub the stained area in a circular motion. Make sure to dry the area thoroughly afterward to prevent any alcohol residue from remaining.
3. Cleaning the Vents
- Use Compressed Air: The vents on your RF Deactivator are crucial for proper ventilation. Over time, they can get clogged with dust, which can cause the device to overheat. Hold the compressed air canister a few inches away from the vents and spray short bursts of air to blow out the dust.
- Check for Blockages: While using the compressed air, visually inspect the vents for any larger blockages. If you see anything stuck, you can use a cotton swab to gently remove it.
4. Cleaning the Interior (if possible)
- Refer to the Manual: Some RF Deactivators allow for interior cleaning, but this should only be done if you're confident and have the proper knowledge. Refer to the user manual for instructions on how to access the interior.
- Use Compressed Air and Cotton Swabs: Once you've accessed the interior, use the compressed air to blow out any dust. You can also use cotton swabs dipped in isopropyl alcohol to clean small components carefully. Just be very gentle to avoid damaging any delicate parts.
5. Reassemble and Test
After cleaning, make sure to reassemble any parts you may have removed. Then, plug in the RF Deactivator and turn it on. Check if it's working properly by testing it with a 8.2Mhz anti theft label early warning Deactivator. If everything seems to be in order, you're good to go!
Cleaning Frequency
How often you should clean your RF Deactivator depends on how often it's used and the environment it's in. If it's used in a high - traffic area or a dusty environment, it's a good idea to clean it once a month. In a cleaner environment, a quarterly cleaning should suffice.
Tips and Tricks
- Avoid Abrasive Materials: Never use abrasive sponges or scouring pads on your RF Deactivator. These can scratch the surface and damage the device.
- Keep it Dry: Make sure the deactivator is completely dry before plugging it back in. Moisture can cause electrical problems.
- Regular Inspections: In addition to cleaning, perform regular visual inspections of your RF Deactivator. Look for any signs of damage, loose parts, or abnormal behavior.
Different Types of RF Deactivators
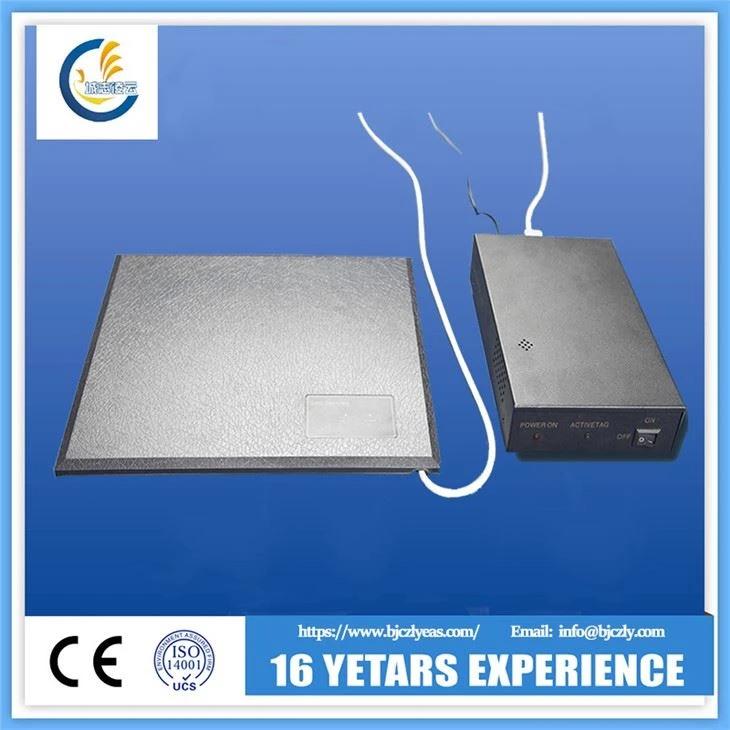
We offer a range of RF Deactivators, each with its own unique features. For example, the EAS Label Deactivator Split Type is great for high - volume stores. It has a split design that allows for easy integration into existing checkout counters.
The 8.2MJZ RF Label Deactivator All - in - one is a compact and versatile option. It's perfect for smaller stores or places where space is limited. The cleaning process for these different types is generally the same, but always refer to the specific user manual for any type - specific instructions.
Conclusion
Cleaning your RF Deactivator is a simple yet essential task that can keep your device running smoothly and efficiently. By following the steps outlined above, you can ensure that your RF Deactivator remains in top - notch condition for years to come.
If you're in the market for a new RF Deactivator or have any questions about cleaning or maintaining your existing one, don't hesitate to reach out. We're here to help you make the best choices for your business. Whether you're a small mom - and - pop shop or a large retail chain, we've got the right RF Deactivator for you. Contact us to start a procurement discussion and find the perfect solution for your anti - theft needs.
References
- Manufacturer's user manuals for RF Deactivators
- General knowledge on electronic device cleaning and maintenance