As a reliable supplier of AM Deactivators, I understand that proper installation is crucial to ensure the optimal functioning of these devices. In this blog post, I'll guide you through the step - by - step process of installing an AM Deactivator, providing you with all the information you need for a seamless setup.
Prerequisites Before Installation
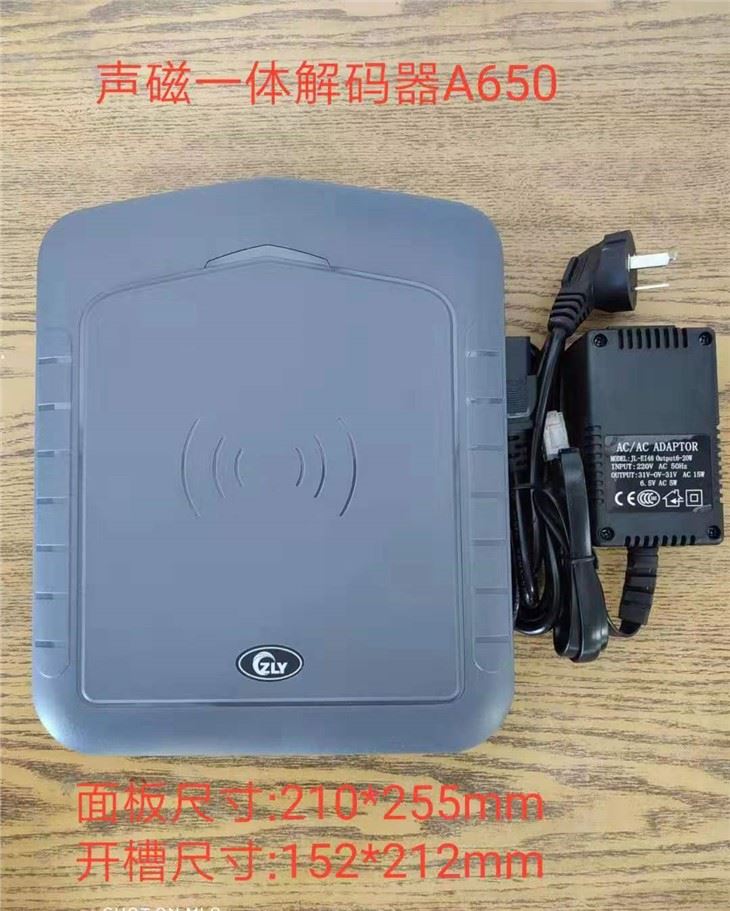
Before you start the installation process, there are several prerequisites that you need to check. First, ensure that you have received all the components of the AM Deactivator. This typically includes the main unit, the power cord, and any additional accessories. For example, if you have purchased the EAS Anti Theft System 58KHZ AM Deactivator, verify that all its parts are present.
Also, select a suitable location for the installation. The area should be well - ventilated to prevent overheating of the device. It should also be away from sources of interference such as large electrical appliances, as these can disrupt the normal operation of the AM Deactivator. Make sure the surface where you plan to place the deactivator is stable and level.
Step 1: Unpacking the AM Deactivator
Carefully unpack the AM Deactivator from its packaging. Inspect all the components for any visible damage during transit. If you notice any issues, contact our customer support immediately. Lay out all the parts on a clean and flat surface. You should have the main deactivator unit, the power cable, and possibly a user manual.
Step 2: Connecting the Power Supply
The power supply is a critical part of the installation. For the 58Khz Deactivator external power supply, locate the power input port on the back of the AM Deactivator. Connect one end of the power cable to this port. Ensure that the connection is secure and there are no loose wires.
Plug the other end of the power cable into a grounded electrical outlet. Before turning on the power, double - check that the voltage of the outlet matches the voltage requirements specified in the user manual of the AM Deactivator. Incorrect voltage can damage the device and pose a safety hazard.
Step 3: Mounting the AM Deactivator
Depending on your requirements and the model of the AM Deactivator, you may need to mount it. Some models are designed to be placed on a flat surface, while others can be wall - mounted. If you choose to wall - mount the AM Tag Deactivator, follow these steps.
First, identify the mounting holes on the back of the unit. Using a drill, make holes in the wall at appropriate positions according to the markings on the deactivator. Insert wall plugs into the holes. Then, align the deactivator with the holes in the wall and use screws to secure it firmly in place. Make sure the unit is level and stable.
Step 4: Testing the Connection
Once the power is connected and the unit is mounted (if applicable), turn on the AM Deactivator using the power switch. The device should start up, and indicator lights may illuminate to show its status. Check the user manual to understand the meaning of different lights.
To test the functionality, take a valid AM tag. Pass the tag over the deactivation area of the device. If the tag is properly deactivated, it means the installation is successful. If the tag is not deactivated or if you encounter any issues, refer to the troubleshooting section in the user manual or contact our technical support team.
Step 5: Configuration (if required)
Some advanced AM Deactivators may require configuration. This could include setting the deactivation intensity, frequency, or other parameters. Use the control panel on the device or a connected software (if available) to make these adjustments. Refer to the user manual for detailed instructions on how to access and modify the settings.
Maintenance Tips After Installation
After a successful installation, regular maintenance is essential to keep the AM Deactivator in good working condition. Clean the surface of the device regularly using a soft, dry cloth to remove dust and debris. Check the power cable for any signs of wear or damage and replace it if necessary.
Periodically test the performance of the deactivator using sample AM tags. If you notice a decrease in performance, it may indicate a need for further inspection or maintenance.
Conclusion
Installing an AM Deactivator is a relatively straightforward process if you follow the steps carefully. As a supplier, we are committed to providing high - quality products and ensuring that our customers have a smooth installation experience. Whether you are using it in a retail store, library, or any other environment, a properly installed AM Deactivator will effectively prevent theft and enhance security.
If you are interested in purchasing our AM Deactivators or have any questions regarding installation, maintenance, or any other aspect, please feel free to reach out to us. We are always ready to assist you in making the right choice for your security needs.

References
- Manufacturer's user manuals for various AM Deactivator models
- Industry best practices for the installation and maintenance of EAS systems