Hey there! As a supplier of RF Deactivators, I'm super stoked to walk you through the process of installing one. Whether you're running a small retail store or a big - box supermarket, having an RF Deactivator can be a game - changer in preventing false alarms and streamlining your checkout process.
First things first, let's talk about what an RF Deactivator is. It's a device used to deactivate Radio Frequency (RF) security tags attached to products. These tags are commonly used in the retail industry to prevent theft. When a customer purchases an item, the RF Deactivator neutralizes the tag so that it won't trigger the alarm at the exit.
Pre - installation Checks
Before you start the installation, there are a few things you need to do. First, find a suitable location for your RF Deactivator. It should be placed near the cash register, ideally where the cashier can easily reach it while scanning items. Make sure the area is clean and free from any debris or obstructions.
Check the power requirements of your RF Deactivator. Most of these devices run on standard electrical power, but it's always a good idea to double - check. You'll also need to ensure that there's an available electrical outlet nearby.
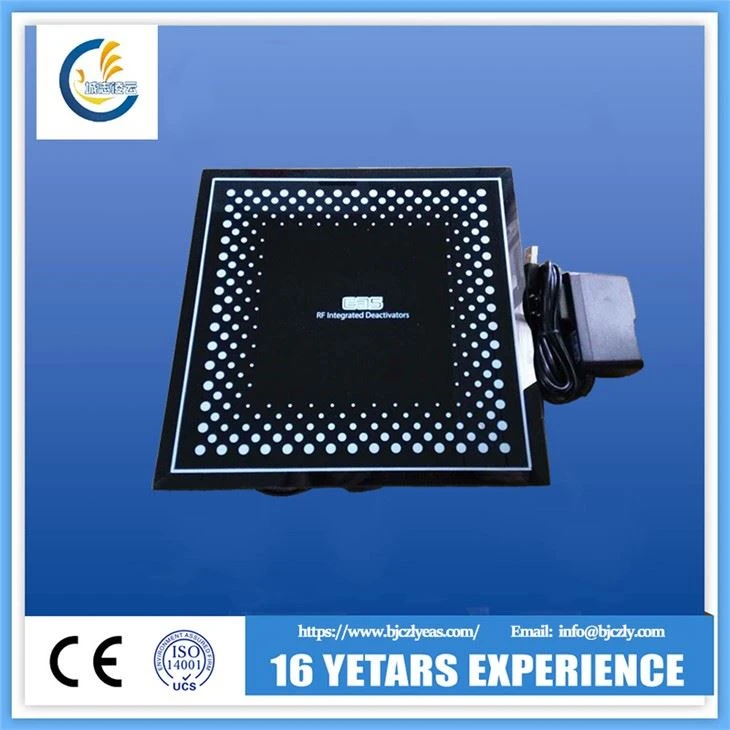
Now, let's take a look at the different types of RF Deactivators we offer. We have the EAS Deactivator. This is an all - in - one solution that can handle various types of RF soft labels. It's compact and easy to integrate into your existing checkout setup.
Another popular option is the Hot 8.2MHz EAS RF Label Deactivator, RF EAS Deactivator. This one operates at 8.2MHz, which is a common frequency for RF security tags. It's known for its high - efficiency and reliable performance.
If you're looking for a more specialized solution, our RF 8.2MHZ deactivator might be the right choice. It's designed to handle split RF soft labels, which are often used on high - value items.
Installation Steps
Once you've chosen the right RF Deactivator and prepared the installation area, it's time to start the actual installation.
- Unpack the Device: Carefully unpack your RF Deactivator from its box. Make sure you have all the necessary components, including the device itself, power cord, and any mounting hardware if required.
- Connect the Power: Plug the power cord of the RF Deactivator into the electrical outlet. Before turning it on, double - check that the power switch on the device is in the "off" position.
- Mounting (if necessary): Some RF Deactivators come with mounting options. If yours does, follow the instructions in the user manual to mount it securely near the cash register. You can use screws or adhesive mounts depending on the type of surface you're working with.
- Positioning: Place the RF Deactivator in the desired location. It should be positioned in a way that allows the cashier to easily pass the scanned items over the deactivation area. Make sure it's stable and won't tip over during use.
- Calibration: Once the device is powered on, it may need to be calibrated. Follow the calibration instructions in the user manual. This usually involves placing a test tag on the deactivation area and adjusting the settings until the tag is successfully deactivated.
Testing the Device
After the installation is complete, it's crucial to test the RF Deactivator to make sure it's working properly. Take a few test tags and pass them over the deactivation area one by one. Walk the deactivated tags through the security gates at the exit of your store. If the tags don't trigger the alarm, then your RF Deactivator is working as it should.
If you encounter any issues during testing, don't panic. First, refer to the troubleshooting section of the user manual. Most common problems can be resolved by checking the power connection, adjusting the calibration settings, or cleaning the deactivation area.
Maintenance Tips
To keep your RF Deactivator in top - notch condition, regular maintenance is essential.
- Cleaning: Clean the deactivation area regularly with a soft, dry cloth. This helps to remove any dust or debris that could interfere with the deactivation process.
- Inspection: Periodically inspect the power cord for any signs of damage. If you notice any frayed wires or other issues, replace the power cord immediately.
- Software Updates: Some RF Deactivators may require software updates to ensure optimal performance. Check the manufacturer's website regularly for any available updates and follow the instructions to install them.
Why Choose Our RF Deactivators?
As a supplier, we take pride in offering high - quality RF Deactivators. Our products are designed and manufactured using the latest technology, ensuring reliable performance and long - lasting durability. We also provide excellent customer support, so if you have any questions or need assistance with installation or maintenance, our team is just a call away.
We understand that every business has different needs, which is why we offer a wide range of RF Deactivators to choose from. Whether you're a small business on a budget or a large enterprise looking for a high - end solution, we have something for you.

Contact Us for Purchase and Consultation
If you're interested in purchasing an RF Deactivator for your business, or if you have any questions about the installation process, don't hesitate to reach out. We're here to help you find the best solution for your specific needs. Whether it's choosing the right model, getting advice on installation, or discussing pricing, our team of experts is ready to assist you.
References
- Retail Loss Prevention Handbook, Second Edition.
- Radio Frequency Identification (RFID) and Electronic Article Surveillance (EAS) Technologies in Retail.