In today's business environment, the security of merchandise is of utmost importance. EAS (Electronic Article Surveillance) Acrylic EM (Electromagnetic) Gates have become a popular choice for retailers, libraries, and other institutions to prevent theft. Setting up remote monitoring for these gates can significantly enhance their effectiveness and provide real - time insights into security events. As an EAS Acrylic EM Gate supplier, I'd like to share a comprehensive guide on how to set up remote monitoring for these gates.
Understanding the Basics of EAS Acrylic EM Gates
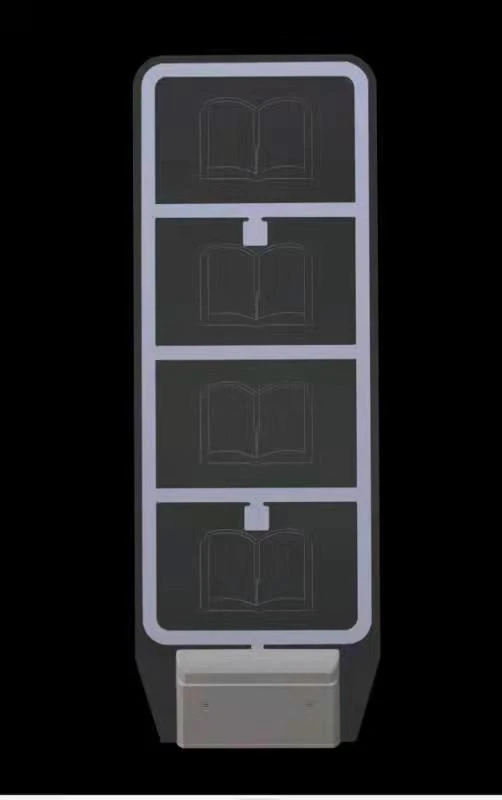
Before delving into remote monitoring, it's essential to understand what EAS Acrylic EM Gates are. These gates use electromagnetic technology to detect the presence of security tags attached to merchandise. When a tagged item passes through the gate without proper deactivation, an alarm is triggered. They are commonly used in various settings, including EM Security Gate applications, Library exit checkpoint access control, and Super wide super high acrylic advanced library anti - theft system.
Prerequisites for Remote Monitoring
- Compatible Gates: Ensure that your EAS Acrylic EM Gates are equipped with the necessary hardware and software interfaces to support remote monitoring. Most modern gates come with built - in communication modules that can connect to a network.
- Network Infrastructure: A stable and reliable network is crucial. You can use either a wired Ethernet connection or a wireless Wi - Fi network. For larger installations, a dedicated local area network (LAN) may be required.
- Monitoring Software: Select a monitoring software that is compatible with your EAS Acrylic EM Gates. The software should be able to receive data from the gates, display real - time status, and generate alerts in case of security breaches.
- Remote Access Device: You will need a device such as a computer, tablet, or smartphone to access the monitoring software remotely. Make sure the device has a compatible operating system and a reliable internet connection.
Step - by - Step Guide to Setting Up Remote Monitoring
Step 1: Gate Configuration
- Physical Installation: Install the EAS Acrylic EM Gates according to the manufacturer's instructions. Ensure that the gates are properly aligned and calibrated for optimal performance.
- Network Connection: Connect the gates to the network. If using a wired connection, plug the Ethernet cable into the gate's network port. For a wireless connection, follow the instructions to connect the gate to the Wi - Fi network.
- IP Address Assignment: Assign a unique IP address to each gate. This can be done either manually or through DHCP (Dynamic Host Configuration Protocol). If using DHCP, make sure your network router is configured to assign IP addresses within the appropriate range.
Step 2: Monitoring Software Installation
- Download and Install: Download the monitoring software from the manufacturer's website or the designated software repository. Follow the installation wizard to install the software on your monitoring device.
- Software Configuration: Launch the monitoring software and configure it to connect to your EAS Acrylic EM Gates. Enter the IP addresses of the gates and any other required authentication information.
- System Setup: Set up the monitoring parameters, such as alarm thresholds, event logging, and notification settings. You can customize these settings according to your specific security requirements.
Step 3: Remote Access Setup
- Port Forwarding (Optional): If you want to access the monitoring software from outside your local network, you may need to set up port forwarding on your router. This allows external devices to communicate with the monitoring software running on your local network.
- Remote Access Credentials: Create a set of remote access credentials, such as a username and password. Keep these credentials secure and do not share them with unauthorized personnel.
- Testing Remote Access: Use a remote device to test the remote access. Log in to the monitoring software using the remote access credentials and verify that you can view the real - time status of the EAS Acrylic EM Gates.
Benefits of Remote Monitoring
- Real - Time Alerts: Remote monitoring allows you to receive instant alerts when a security breach occurs. You can be notified via email, SMS, or push notifications on your mobile device, enabling you to take immediate action.
- Historical Data Analysis: The monitoring software stores historical data about security events. You can analyze this data to identify patterns, trends, and potential areas of vulnerability. This information can be used to improve your security strategy.
- Cost - Efficiency: By monitoring your EAS Acrylic EM Gates remotely, you can reduce the need for on - site personnel to constantly monitor the gates. This can result in significant cost savings over time.
- Flexibility: You can access the monitoring software from anywhere with an internet connection. This gives you the flexibility to monitor your security system even when you are away from the premises.
Troubleshooting Common Issues
- Network Connectivity Problems: If you are having trouble connecting the gates to the network, check the network cables, Wi - Fi settings, and router configuration. Make sure the gates are within the range of the network signal.
- Software Compatibility Issues: If the monitoring software is not working correctly, ensure that it is compatible with your EAS Acrylic EM Gates and the operating system of your monitoring device. Check for software updates and install them if available.
- Alarm False Positives: If the gates are generating false alarms, check the calibration of the gates and the placement of the security tags. Make sure there are no sources of electromagnetic interference in the vicinity of the gates.
Conclusion
Setting up remote monitoring for EAS Acrylic EM Gates is a straightforward process that can significantly enhance the security of your premises. By following the steps outlined in this guide, you can ensure that your gates are connected to a reliable monitoring system and that you can access real - time information about security events from anywhere.
If you are interested in purchasing EAS Acrylic EM Gates or need further assistance with setting up remote monitoring, please feel free to contact us for procurement and negotiation. We are committed to providing high - quality products and professional services to meet your security needs.
References
- Manufacturer's documentation for EAS Acrylic EM Gates
- Monitoring software user manuals
- Network infrastructure best practices guides