Hey there! As a supplier of the EAS RF Dual System, I'm stoked to share with you a step - by - step guide on how to install the pedestals of the EAS RF Dual System. This guide is gonna help you get your system up and running smoothly, whether you're a small business owner or a big - time retailer.
1. Preparation
First things first, before you even think about installing the pedestals, you gotta do some prep work. Gather all the tools you'll need. You'll likely need a drill, screws, a level, a measuring tape, and a screwdriver. It's also a good idea to have a helper around, especially when you're lifting the pedestals into place.
Next, choose the right location for your EAS RF Dual System. You want to place the pedestals near the entrance or exit of your store. Make sure there's enough space between them. Usually, a distance of about 3 - 4 feet is ideal, but you can adjust it based on your specific needs. Avoid placing them near large metal objects or electronic devices as these can interfere with the system's performance.
2. Unpacking the Pedestals
Once you've got your location sorted, it's time to unpack the pedestals. Carefully open the box and take out all the components. Check for any damage during transit. If you find anything broken or missing, reach out to us right away. We'll get it sorted for you in no time.
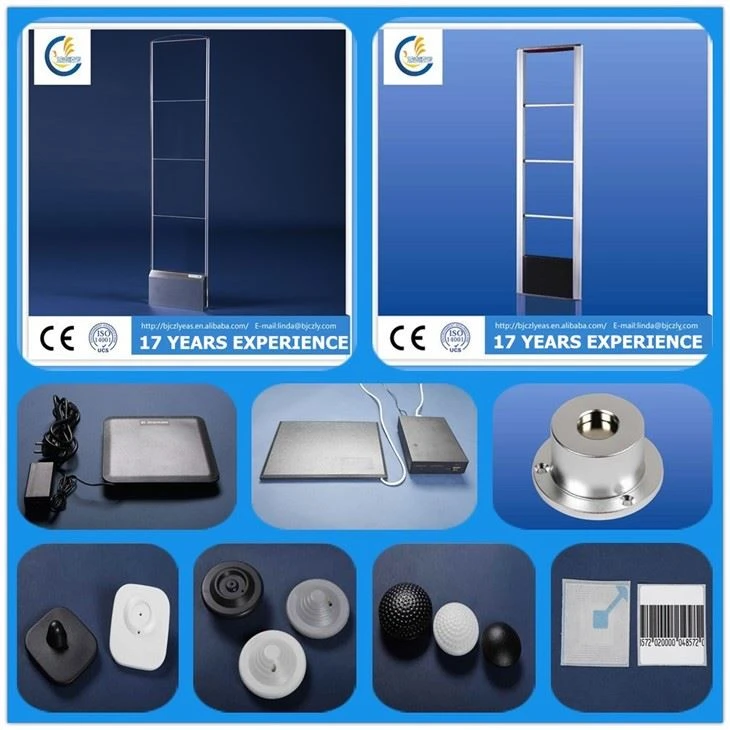
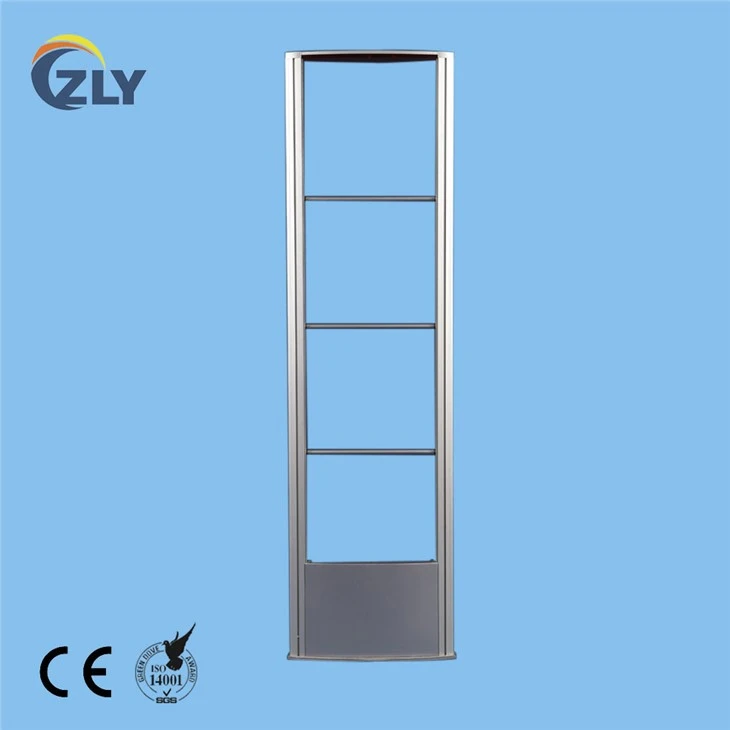
The pedestals usually come with the main body, power cables, and some mounting hardware. Take a good look at the user manual that comes with the system. It'll have all the detailed information about the components and how they fit together.
3. Mounting the Pedestals
Now, here's the tricky part - mounting the pedestals. Start by using your measuring tape to mark the spots where you'll drill the holes for the screws. Use the level to make sure the markings are straight and even. This is super important because if the pedestals aren't installed straight, it can affect the system's accuracy.
Once you've marked the spots, use the drill to make the holes. Be careful not to drill too deep or you might damage the floor or wall behind. After drilling the holes, insert the wall plugs (if required) and then use the screwdriver to screw the pedestals into place. Make sure they're firmly attached and don't wobble.
4. Connecting the Power Cables
After mounting the pedestals, it's time to connect the power cables. Locate the power input ports on the back of each pedestal. Plug in the power cables securely. You might want to use cable ties to keep the cables organized and prevent them from getting tangled.
Before you turn on the system, double - check all the connections. Make sure there are no loose wires or exposed conductors. It's better to be safe than sorry!
5. System Configuration
Once the pedestals are installed and the power is connected, it's time to configure the system. Turn on the pedestals using the power switch. You'll see some indicator lights come on. These lights will tell you if the system is working properly.
The EAS RF Dual System usually comes with a control panel or software that you can use to configure the settings. You can set the sensitivity level, adjust the alarm volume, and even program different detection modes. Refer to the user manual for detailed instructions on how to use the control panel or software.
6. Testing the System
After configuring the system, it's crucial to test it. Walk through the pedestals with a tagged item. The system should detect the tag and trigger an alarm. If it doesn't, check the settings again and make sure the pedestals are properly installed. You can also try adjusting the sensitivity level.
Test the system from different angles and distances to ensure that it can detect tags accurately in all situations. If you encounter any issues during testing, don't worry. Our technical support team is always here to help you troubleshoot.
7. Maintenance Tips
Once your EAS RF Dual System is up and running, it's important to maintain it properly. Regularly clean the pedestals with a soft, dry cloth to remove any dust or dirt. Check the power cables and connections periodically to make sure they're still in good condition.
Keep an eye on the system's performance. If you notice any changes in the detection accuracy or alarm volume, it might be a sign that something needs to be adjusted or repaired.
Product Recommendations
If you're interested in other related products, we also offer the EAS System RFDual Antenna Aluminum Alloy Material. It's made of high - quality aluminum alloy, which makes it durable and resistant to corrosion. The RF Acrylic Mono System is another great option. It's sleek and modern, and it's a cost - effective solution for smaller stores. And of course, our RF Dual Antenna is known for its high - performance and accurate detection.
Contact Us for Purchase
If you're in the market for an EAS RF Dual System or any of our other products, we'd love to hear from you. Whether you have questions about the installation process, product features, or pricing, our team of experts is here to assist you. We offer competitive prices, excellent customer service, and top - notch products. So, don't hesitate to reach out and start a conversation about your procurement needs.
References
- Manufacturer's User Manual for the EAS RF Dual System
- Industry best practices for Electronic Article Surveillance (EAS) system installation